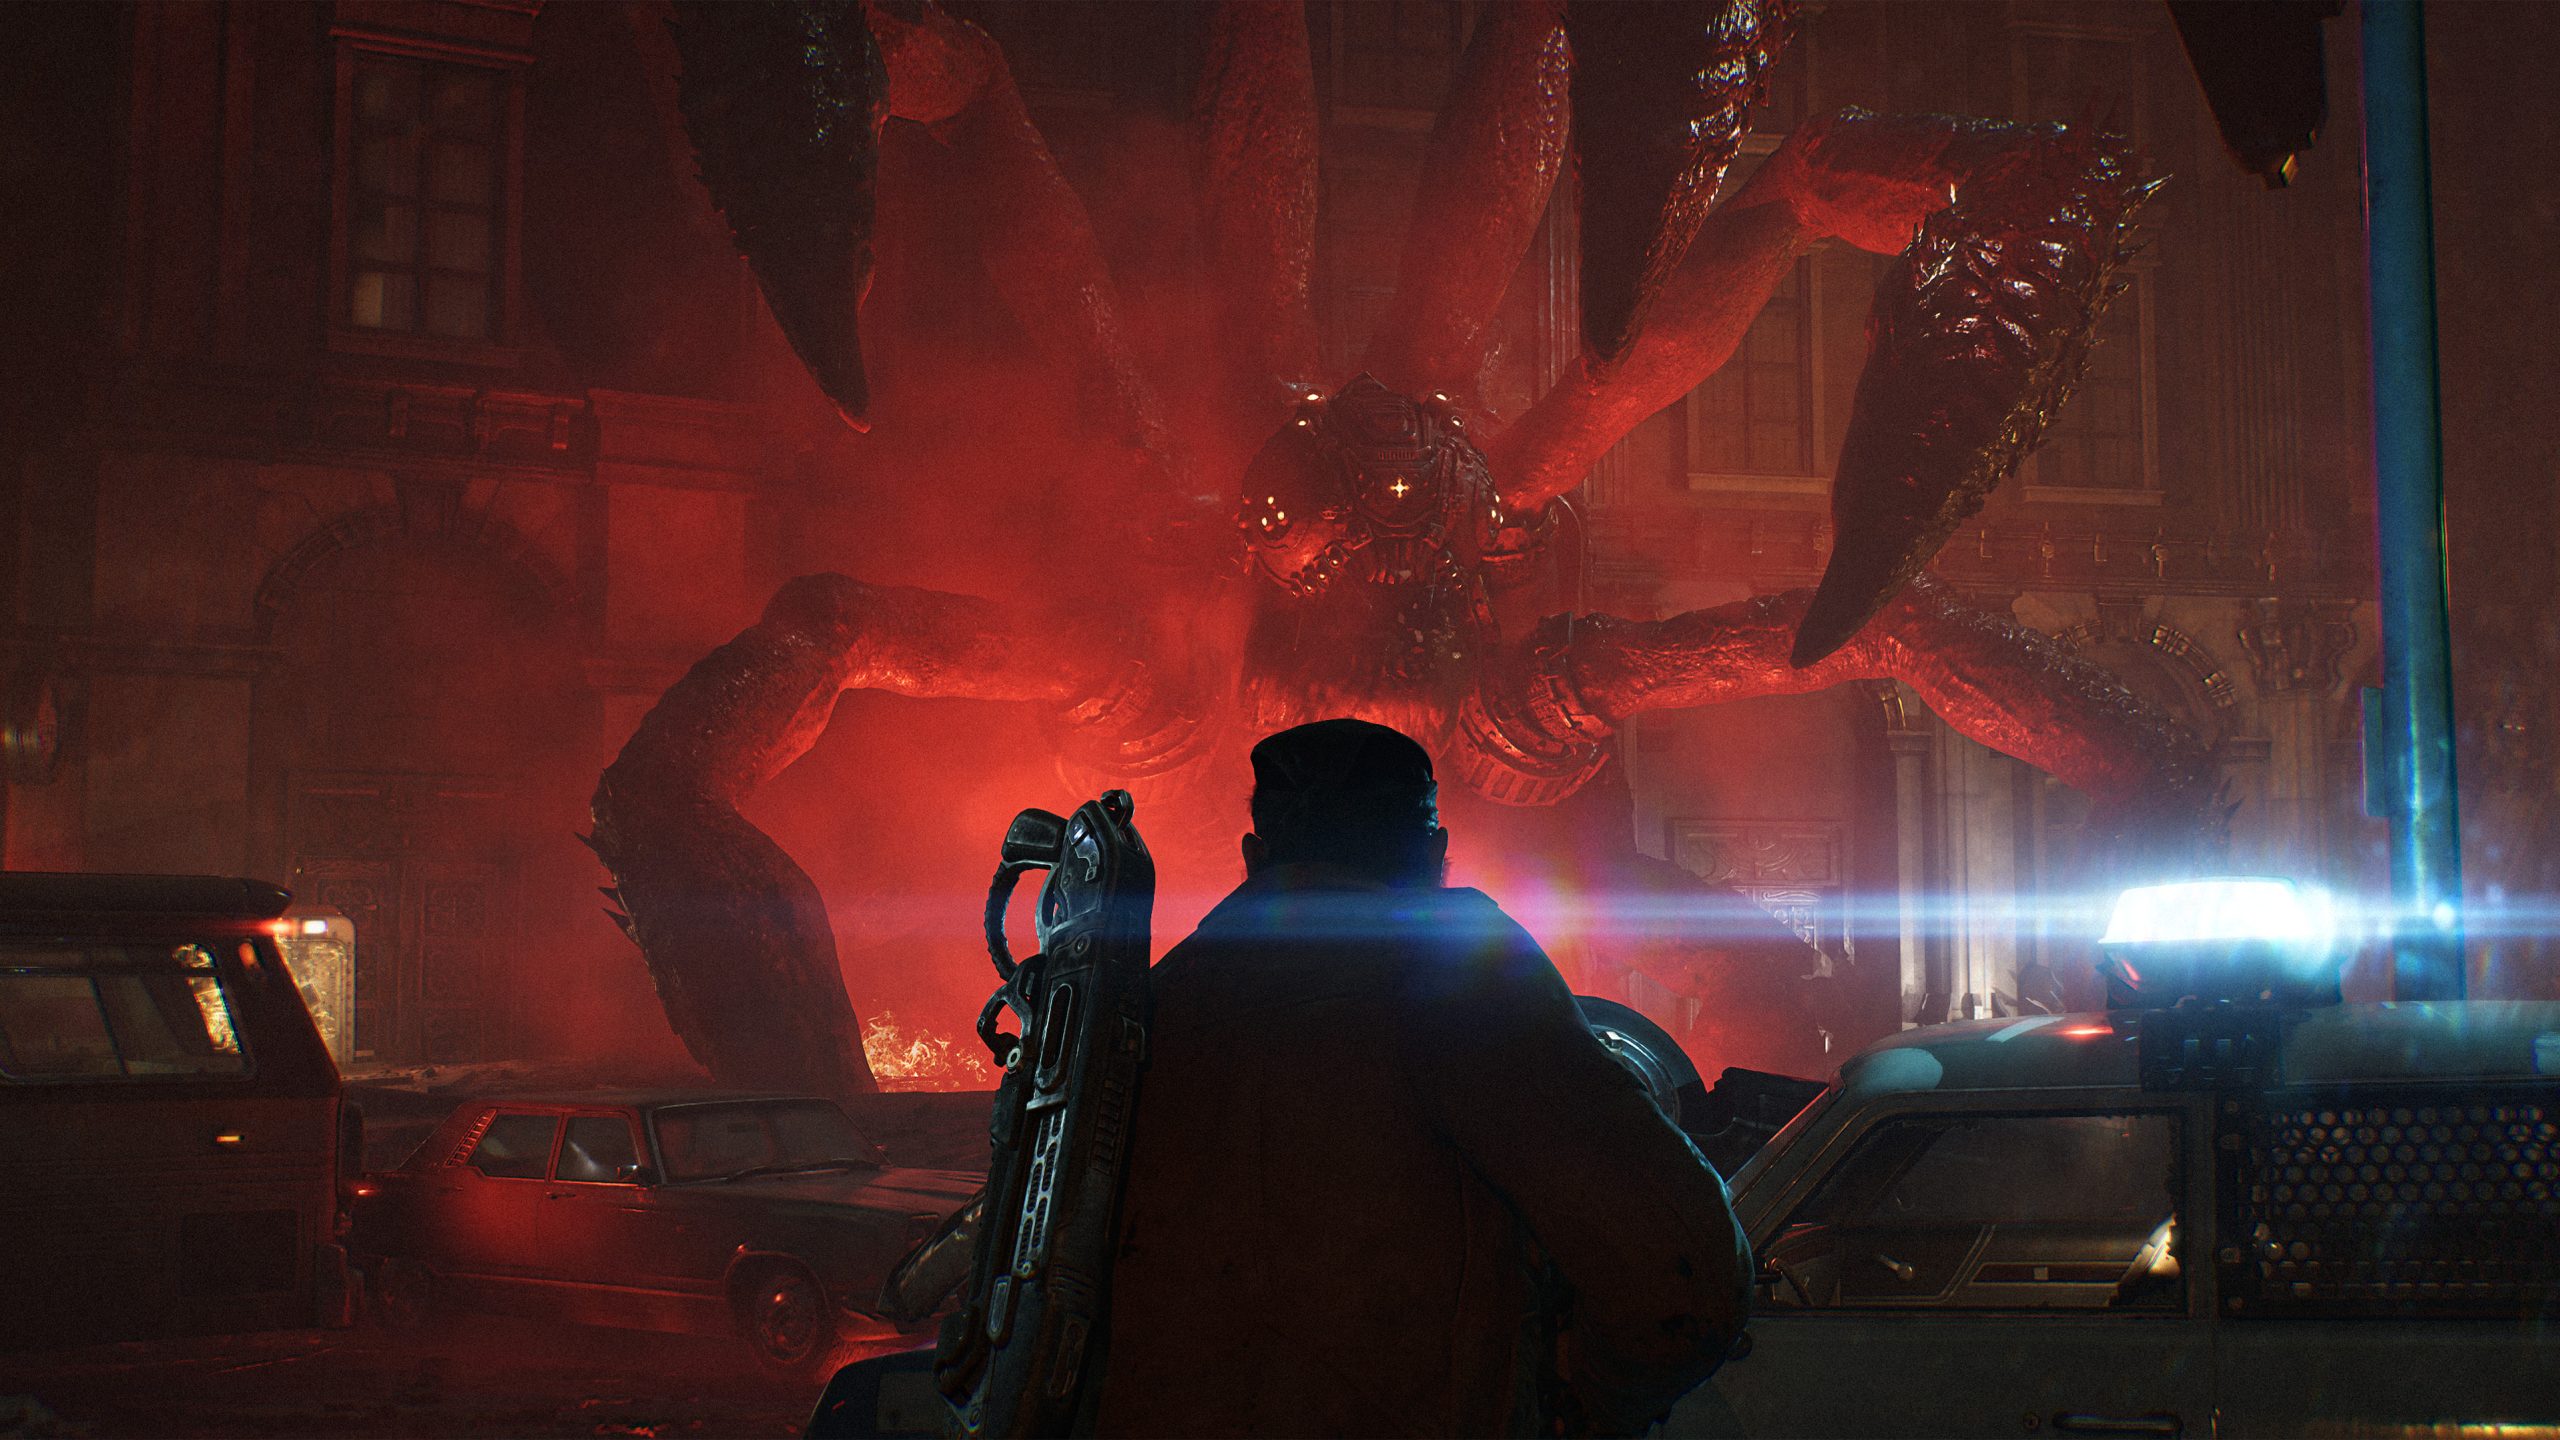
Gears of War E-Day Act 1 Collectibles: Full Locations Guide
Struggling to find every Gears of War E-Day Act 1 collectible? Discover all 13 item locations in our comprehensive guide to achieving 100% completion.
Published: Gears of War: E-Day Wiki Editorial Team
Table of Contents
The Locust threat has arrived, and the chaos of Emergence Day is testing every soldier’s grit. As you fight through the opening stages of Gears of War: E-Day, you might be tempted to rush toward the next objective, but you could be missing out on vital lore and completionist milestones. Finding every Gears of War E-Day Act 1 collectibles is essential for players who want to piece together the tragic history of Sera’s fall.
With 140 total items scattered throughout the game, tracking them down can feel overwhelming. This guide provides a detailed breakdown of the 13 items hidden within the four chapters of Act 1, ensuring you don't miss a single tag or propaganda poster during your initial playthrough.
Why Collectibles Matter in E-Day
Beyond the satisfaction of achieving 100% completion, these items offer a deeper perspective on the civilian and military response to the Locust emergence. Developers at The Coalition have meticulously crafted these artifacts to ground the high-octane action in a tangible, decaying world.
Collecting these items isn't just a side task; it is an exercise in environmental storytelling. By taking the time to search, you gain insight into the state of the COG and the desperate final moments of the citizens of Sera.
Essential Tools for Your Hunt
Before diving into the locations, ensure you are utilizing the game’s built-in mechanics to make your search easier. Based on player feedback, many newcomers often overlook these features:
Tip
Mastering Your Tac-Com
Always trigger your Tac-Com (LB on controller) when you enter a new room. Collectibles will glow faintly, making them stand out against the debris-filled environments of Act 1.
Tool
Function
Best Use Case
Tac-Com
Highlights nearby items
Scanning dark corners or cluttered rooms
Audio Stinger
Plays a faint melody
When you are within 5-10 meters of an item
Controller Vibration
Subtle haptic feedback
When standing directly over a collectible
Act 1: Emergence – Chapter Breakdown
The first act is divided into four distinct chapters. Below is the distribution of the 13 collectibles you need to secure to stay on track for your completionist run.
Chapter 1: Emergence
This chapter serves as your introduction to the horror of E-Day. Stay vigilant as you navigate the initial urban combat.
Monster Jaw: Located on the floor near the news kiosk immediately after your first encounter with Wretches.
Bloody Transit Worker's Helmet: Found inside a small maintenance room to the left of the main corridor.
Front Page of the Kalona Times: After clearing the street of Wretches, enter the restaurant; the paper is on the back kitchen counter.
Chapter 2: Survival of the Fittest
As the situation worsens, you will find yourself moving through police and recruitment facilities.
Collectible Name
Specific Location
KPD Police Bulletin
On a desk in the first room of the police station
Bloodied Police Chief's Badge
Next to the body pinned to the wall after the firing range
Try On Pilot Helmet
On the back wall of the recruitment center
Army Recruitment Pamphlet
Behind the desk in the recruitment center
Tips for Efficient Collection
Searching for Gears of War E-Day Act 1 collectibles requires patience. Many items are placed in areas that look like background dressing. If you see a room that seems "empty," check the desks, lockers, and doorways.
Warning
Missable Content
Some areas in Act 1 are locked off once you progress past a certain point. Always ensure you have scoured a room before triggering a cutscene or opening a heavy door, as these actions often initiate a "point of no return."
Chapter 3: A Gear in Need
In this chapter, your focus shifts to scavenging supplies. The items here are smaller and easily missed if you are sprinting through the store.
Tomatoes, Canned: Found in the second room of the "Pay and Save" store; look for a cardboard tray on the floor.
Broken Lancer Bayonet: After the cutscene in the "Pay and Go," check the floor near the Locust body at your feet.
Chapter 4: Back in the Fold
The final chapter of the act requires keen eyes during street-level navigation.
Front Page of the Tyran Chronicle: Found on a doorstep in an alcove on the right side of the road at the start of the chapter.
Anti-UIR Propaganda Poster: Located on the wall near the burger truck after the hospital clinic encounter.
Landa Memorial Medical Supplies Memo: Inside the building on the left, sitting on a desk in the open room.
COG Tags of Private Brick Rosso: Near the entrance to Echo Park, right next to a blue police car.
Tracking Your Progress
Consistency is key. According to community reports, players often find it helpful to cross-reference their findings against an in-game checklist after every chapter.
Chapter
Collectibles Found
Total Items
Emergence
0/3
3
Survival of the Fittest
0/4
4
A Gear in Need
0/2
2
Back in the Fold
0/4
4
FAQ: Frequently Asked Questions
Q: Do I need to find all 140 collectibles in one playthrough?
A: No, the game tracks your progress across multiple sessions. You can revisit chapters via the mission select screen to pick up any Gears of War E-Day Act 1 collectibles you missed on your first run.
Q: Does the Tac-Com show all items?
A: The Tac-Com is highly effective, but it has a limited range. If you are in a large area, you may need to move around the room to trigger the highlight effect.
Q: Are collectibles shared between characters?
A: Yes, the collection is account-wide. Once you find an item, it is registered to your profile, and you do not need to collect it again in subsequent playthroughs or higher difficulty settings.
Q: What is the best way to hear the collectible audio stinger?
A: Lower your music volume slightly in the settings menu. The "Gears" melody is distinct but can be easily drowned out by combat sound effects or heavy gunfire.